Step1 :
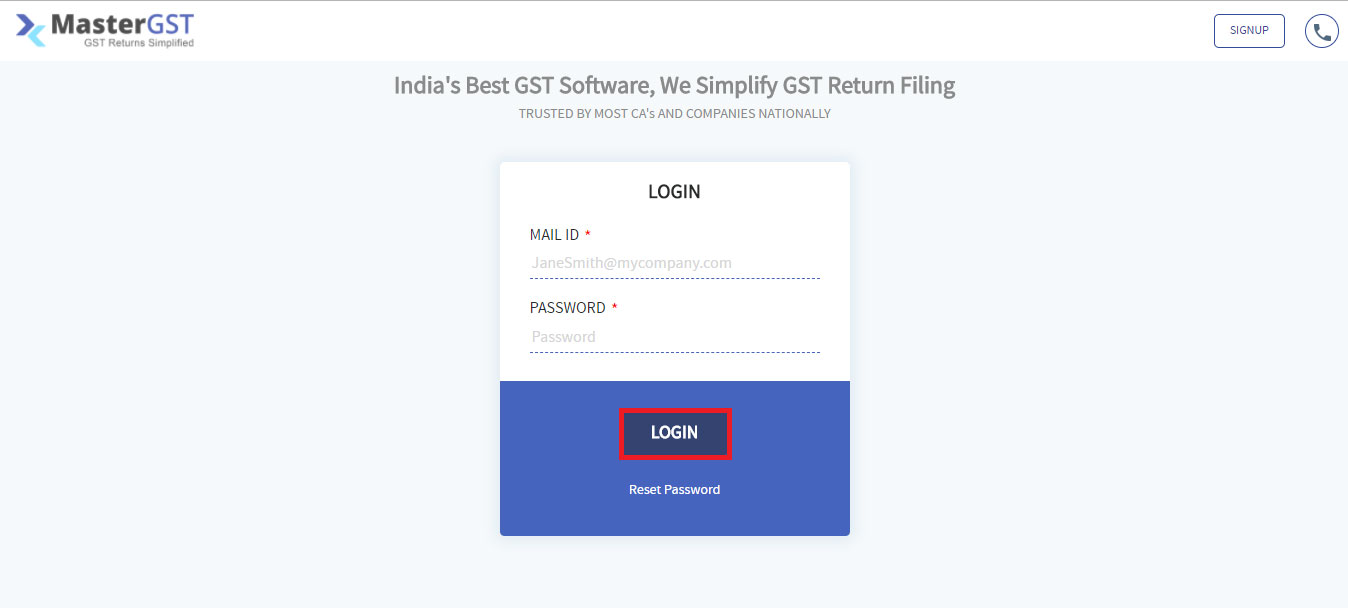
Login into MasterGST.
Step2:
After Login Click On clients in menu , you will the get clients page ( please refer ‘how to add clients‘ if you don’t how to add a client ). Select for which client you want Create mapper Invoice by using Work on this button.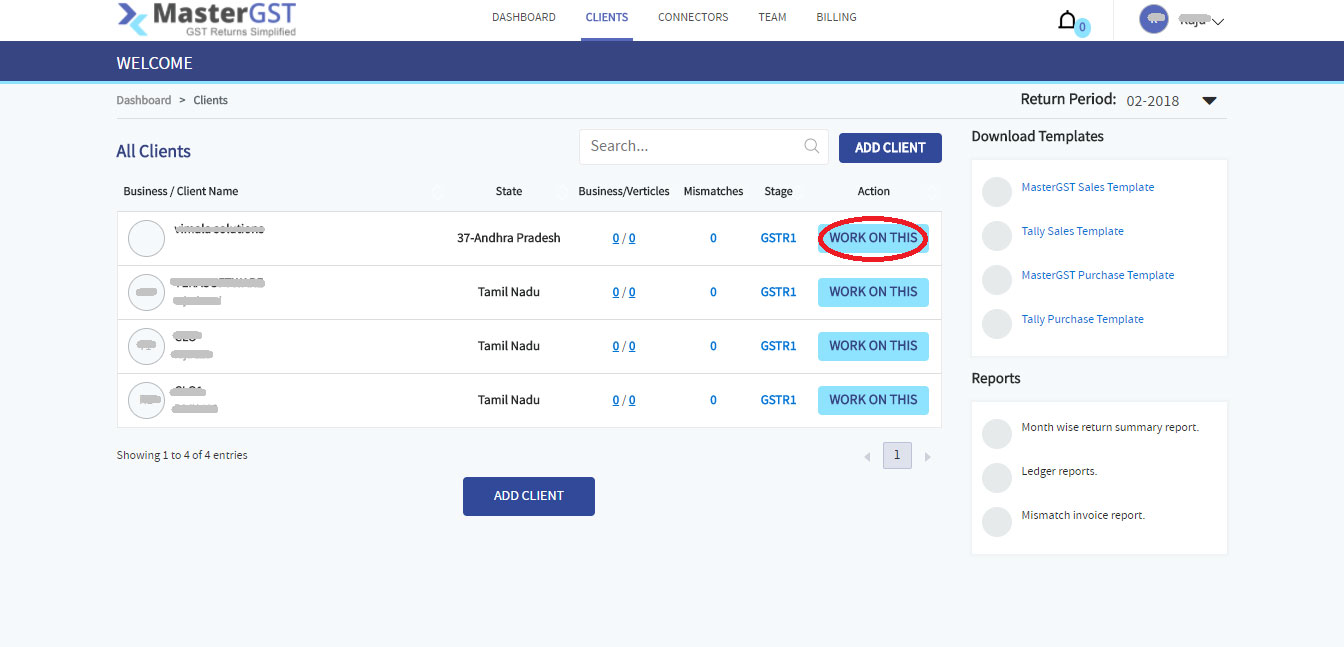
Step3:
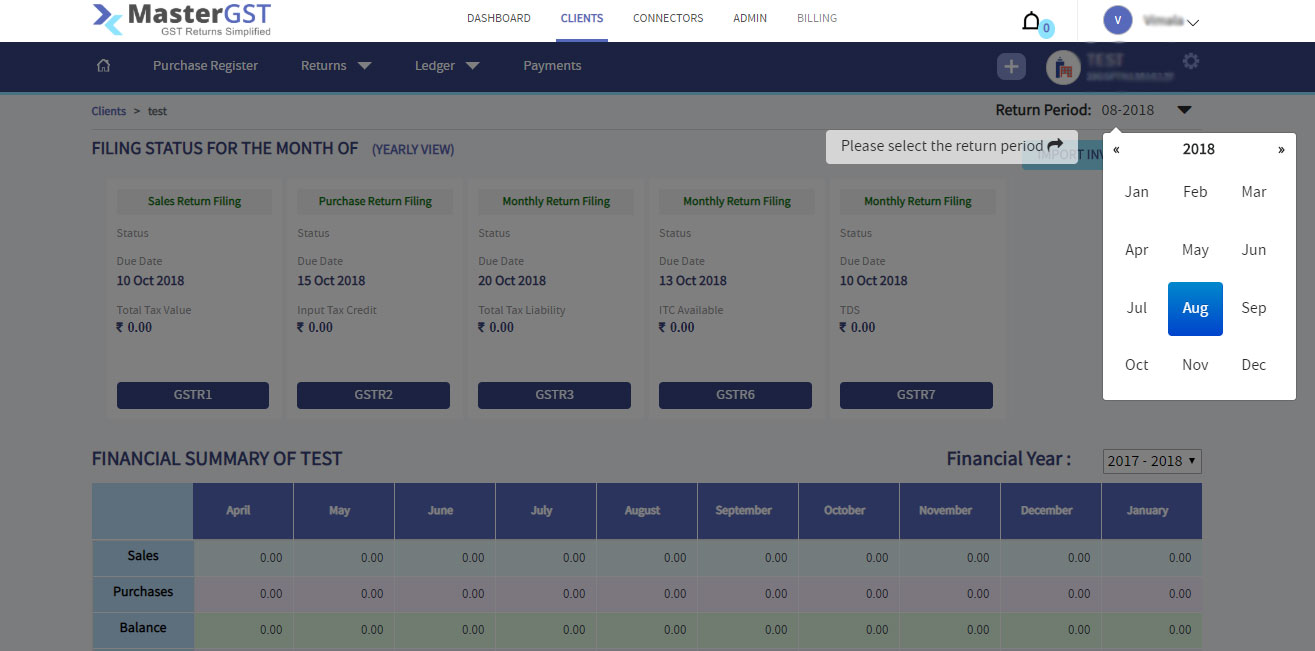
You will get a pop up calendar, Select for which month you want to add invoice.
Step4:
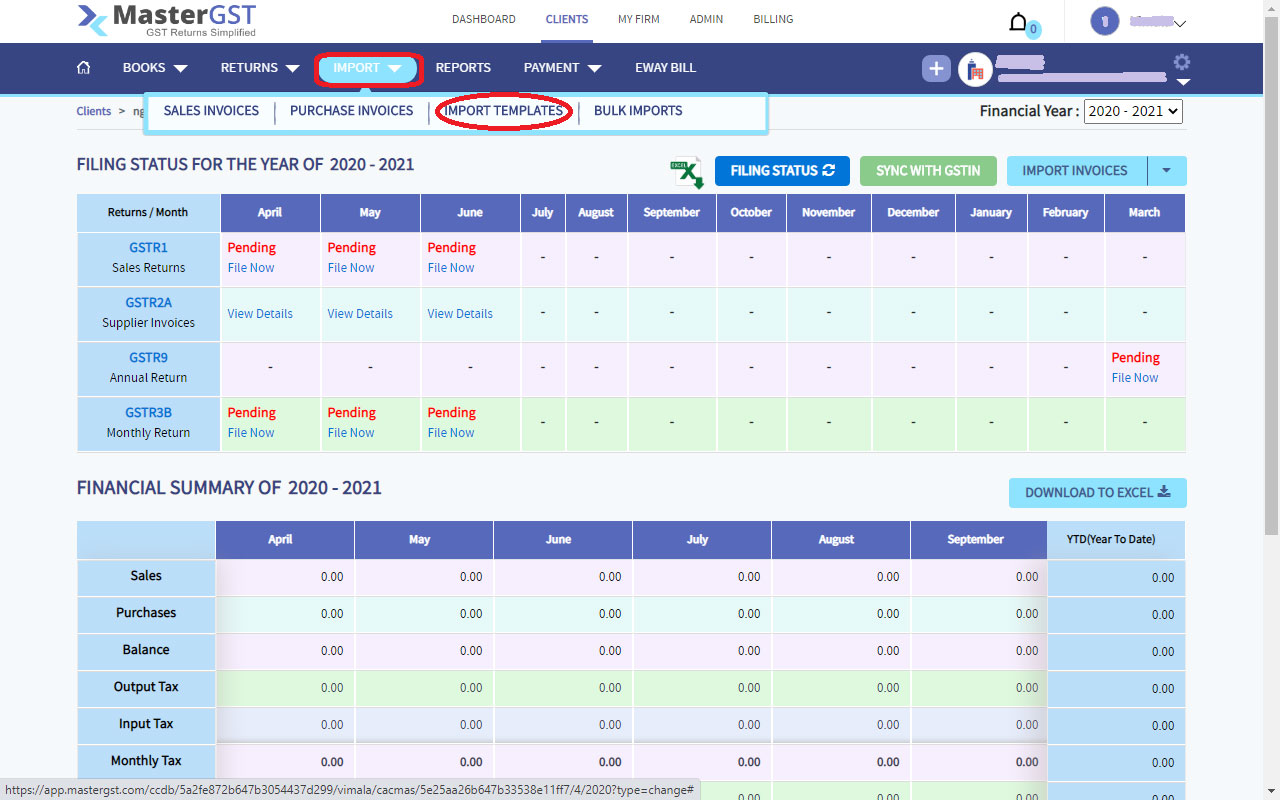
Click on imports in navigation menu.
Step6:
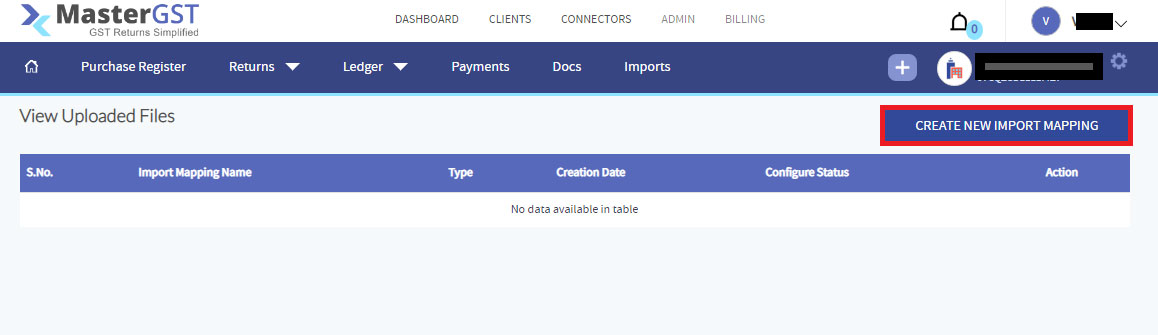
You will get a page as shown in the following image , in that click on Create New Import Mapper button.
Step7:
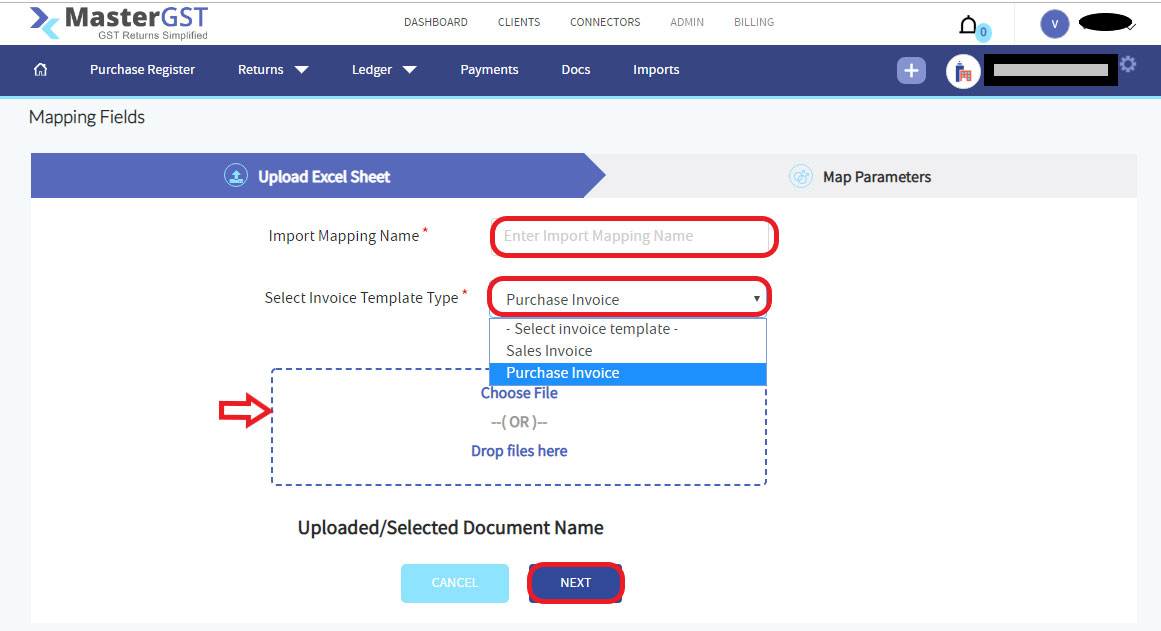
Enter Import mapping name ,select invoice Template type .Click on choose and seect the document. After that click on next.
Step8:
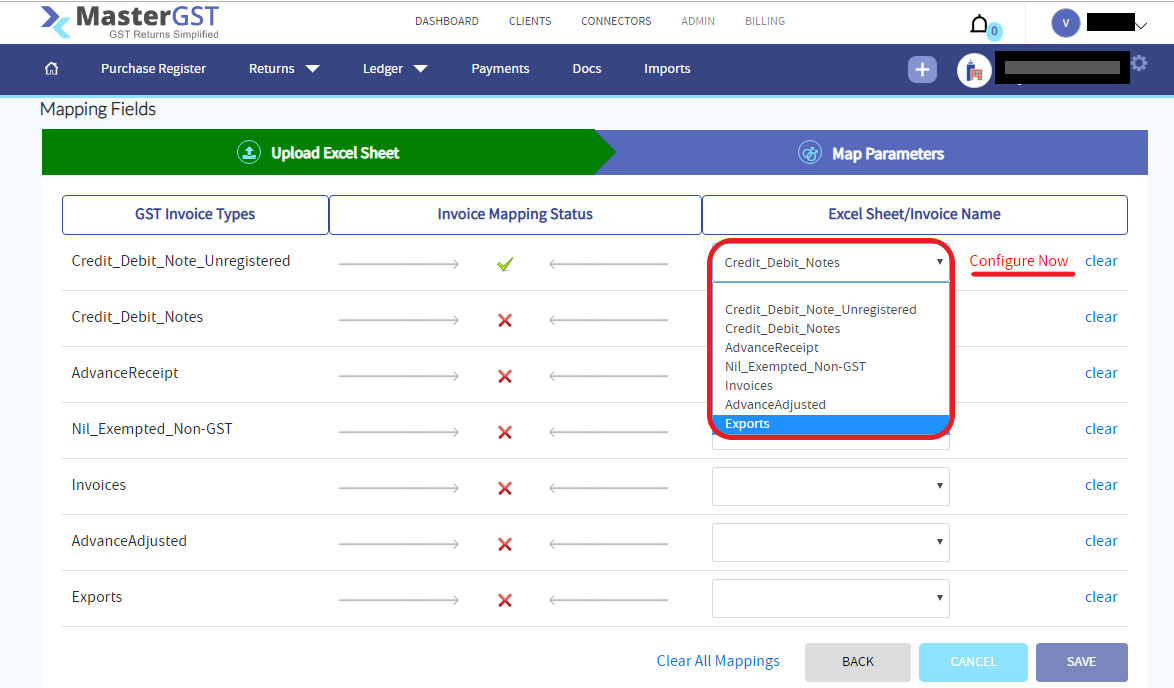
Select for which type you want to configure. after selection click on configure now
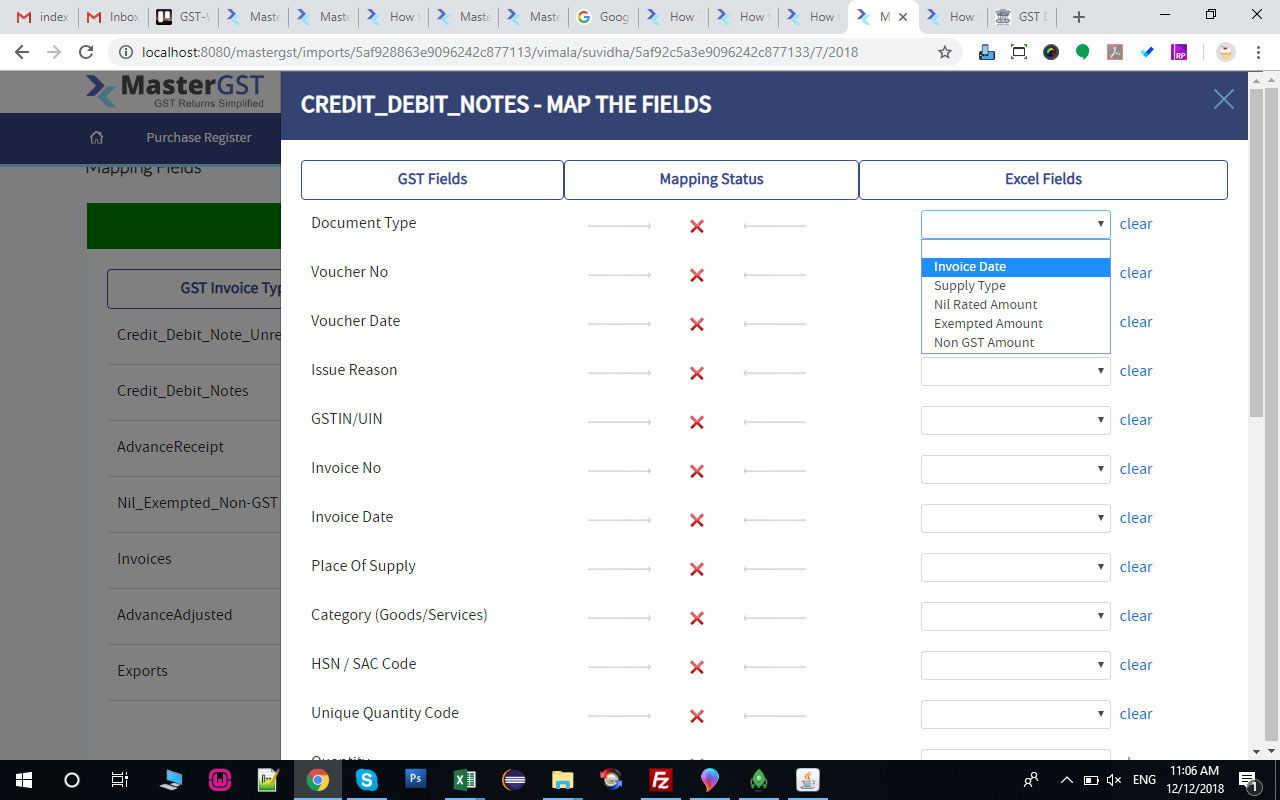
Step9:
You will get a pop up as shown in below, in excel fields column select the fields order. after selecting click on the save button at the end of the page. If you want to clear all mappings you can clear by clicking on clear all mappings.
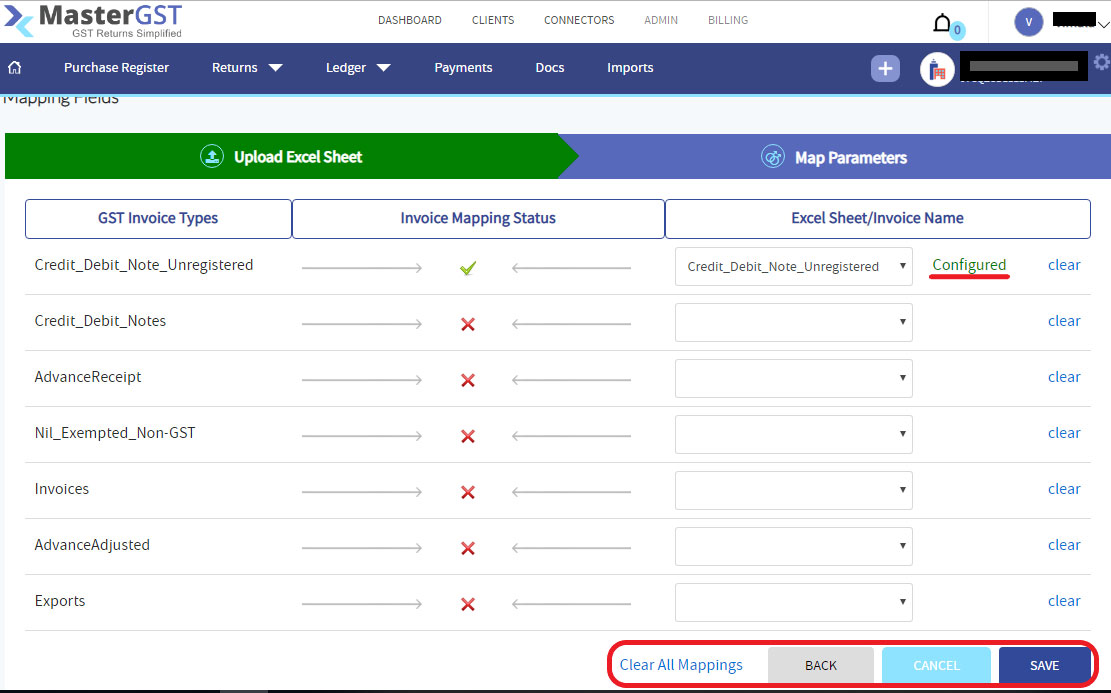
Step10:
After saving the mapping you will get configured text and the save, cancel and clear all mapping buttons will be enabled.
Step11:
After clicking the save button, you will get successful configuration message and you will get the configured document details as shown in the below.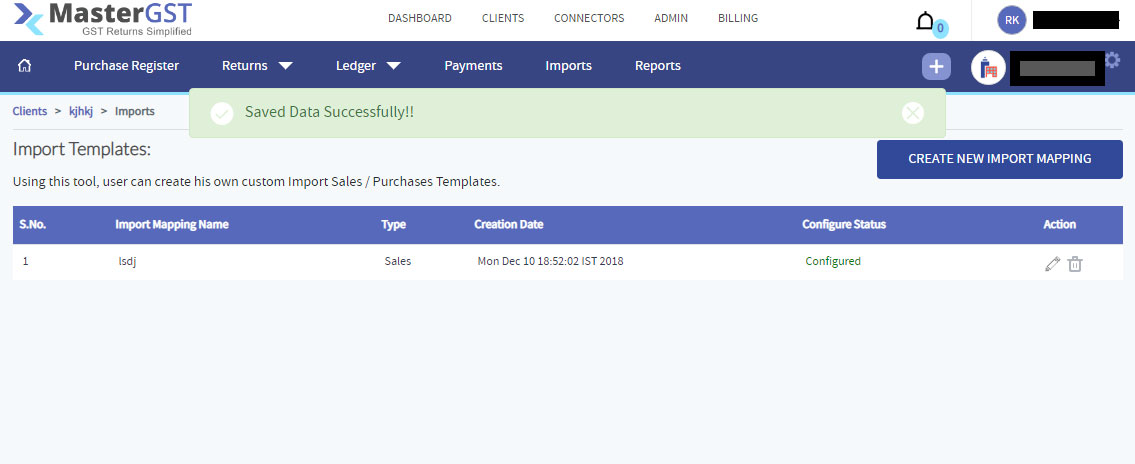
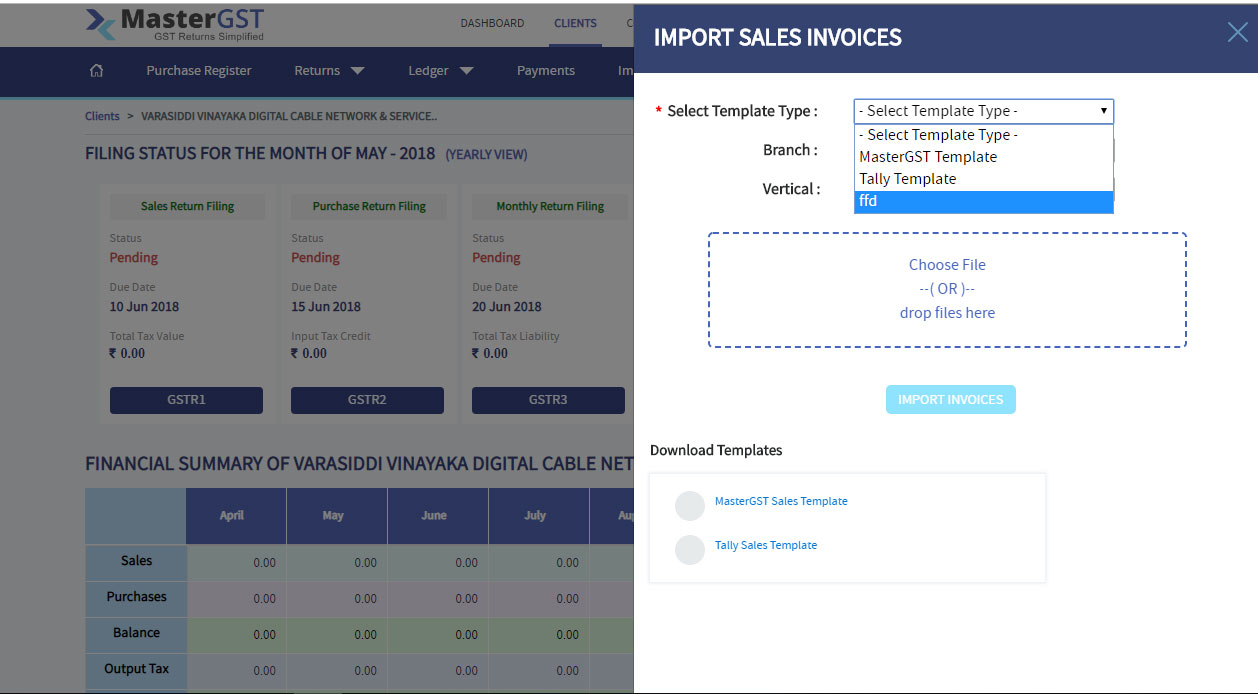
Step12: Once the configuration is successful go to your company dashboard and click on import invoice select sales or purchase import.
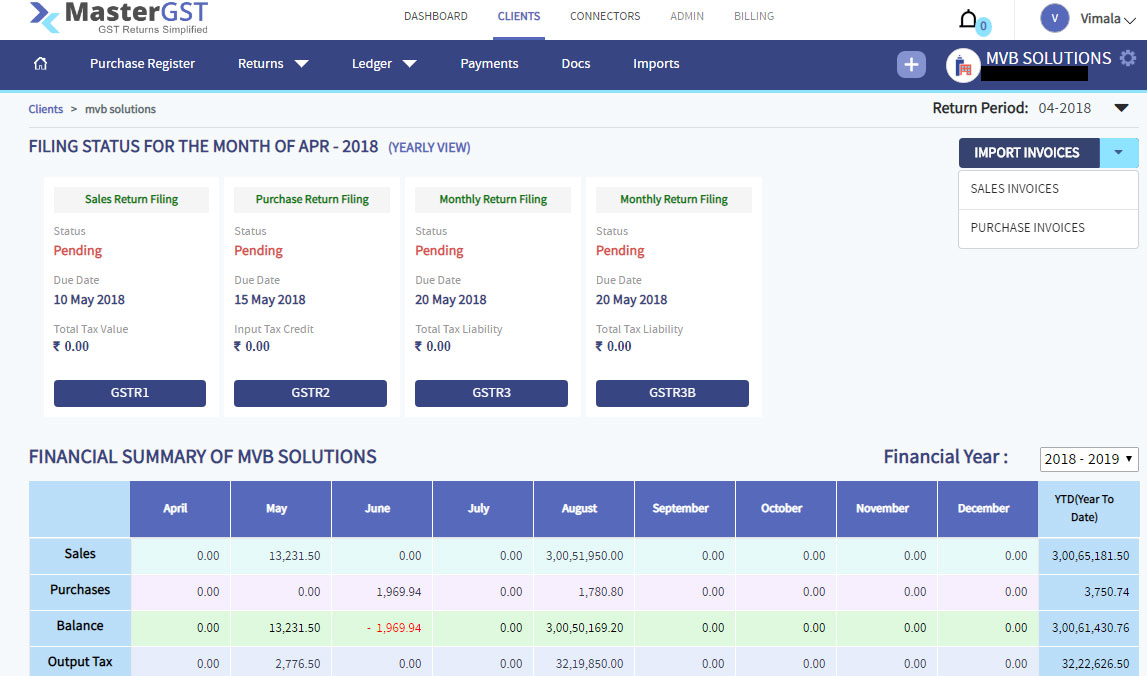
Step13:
After click you will get pop-up window in that select template field check if your configured mapper name is in the list or not. If that is in the list you can use that template.